
Since before I can remember, I have always been around a garden. My family has always had a working farm that makes up most of my favorite memories. Now that I am married and my grandparents that I spent my summers with working the farm, are now smiling down on me from Heaven, I knew I had to have my own garden this year to keep a part of them with me during my favorite time of the year. Along the way, I have learned some DIY tips and tricks that might help you with your own garden at home. Making a smaller garden verses a LARGE garden I am used to working in , would make you think it would be SO much easier. I was greatly mistaken. Ha!

First, I selected what I wanted to grow and how much room I had to grow them in. Starting from seeds is the only way to go. But I did skip this on a few plants, because I wanted to try some new types of tomatoes that a friend (local greenhouse) wanted me to try. Super excited! I will list all the different types at the end of this blog.Then I watched certain parts of the yard to decide just exactly where I would plant these amazing little buds. Where would I get the right amount of sun? This was a really tough decision because I am used to having as much room as I want, due to a farm, and now I had to evaluate what I had to work with and how much room I had.

Then came the really tough lesson…… underground power lines. REALLY?! You guessed it, I had marked off where I wanted to till and someone told us to call before we started to dig. Sure enough, I didn’t just “kind of” get in the way of the power lines, I picked a section that had the power lines running STRAIGHT DOWN THE MIDDLE! Please, Please Please, call before you dig. This could have been a very costly and dangerous mistake. I was just not used to this and having large open spaces where I already knew where everything was, it never crossed my mind.


How did we remedy this? We went to a local store and asked them for any loading palettes they would be getting rid of and inquired if we could take them off their hands. They said “Sure!” We ended up with 6 palettes and only needing to purchase top soil and gardening soil to mix into it. Total of maybe $50. This was such an inexpensive way of doing a raised bed and we will see if it works or not.

Where I knew I would have some larger plants, my amazing husband removed some of the planks and nailed them onto the sides of the palettes where there might be a hole due to where the forklift would insert to lift. We had exactly enough to do the entire perimeter! It was perfect. Now, I purchased some chicken wire and did my fencing to keep our neighborhood bunnies from thinking this is an “all you can buffet”.

I will post periodically how this is going and let you know what worked and did not work for me. I am super excited and hope you are as well. Follow me on Twitter, Instagram and “Like” my Facebook page to get updates on my garden and other life adventures in-between posts.
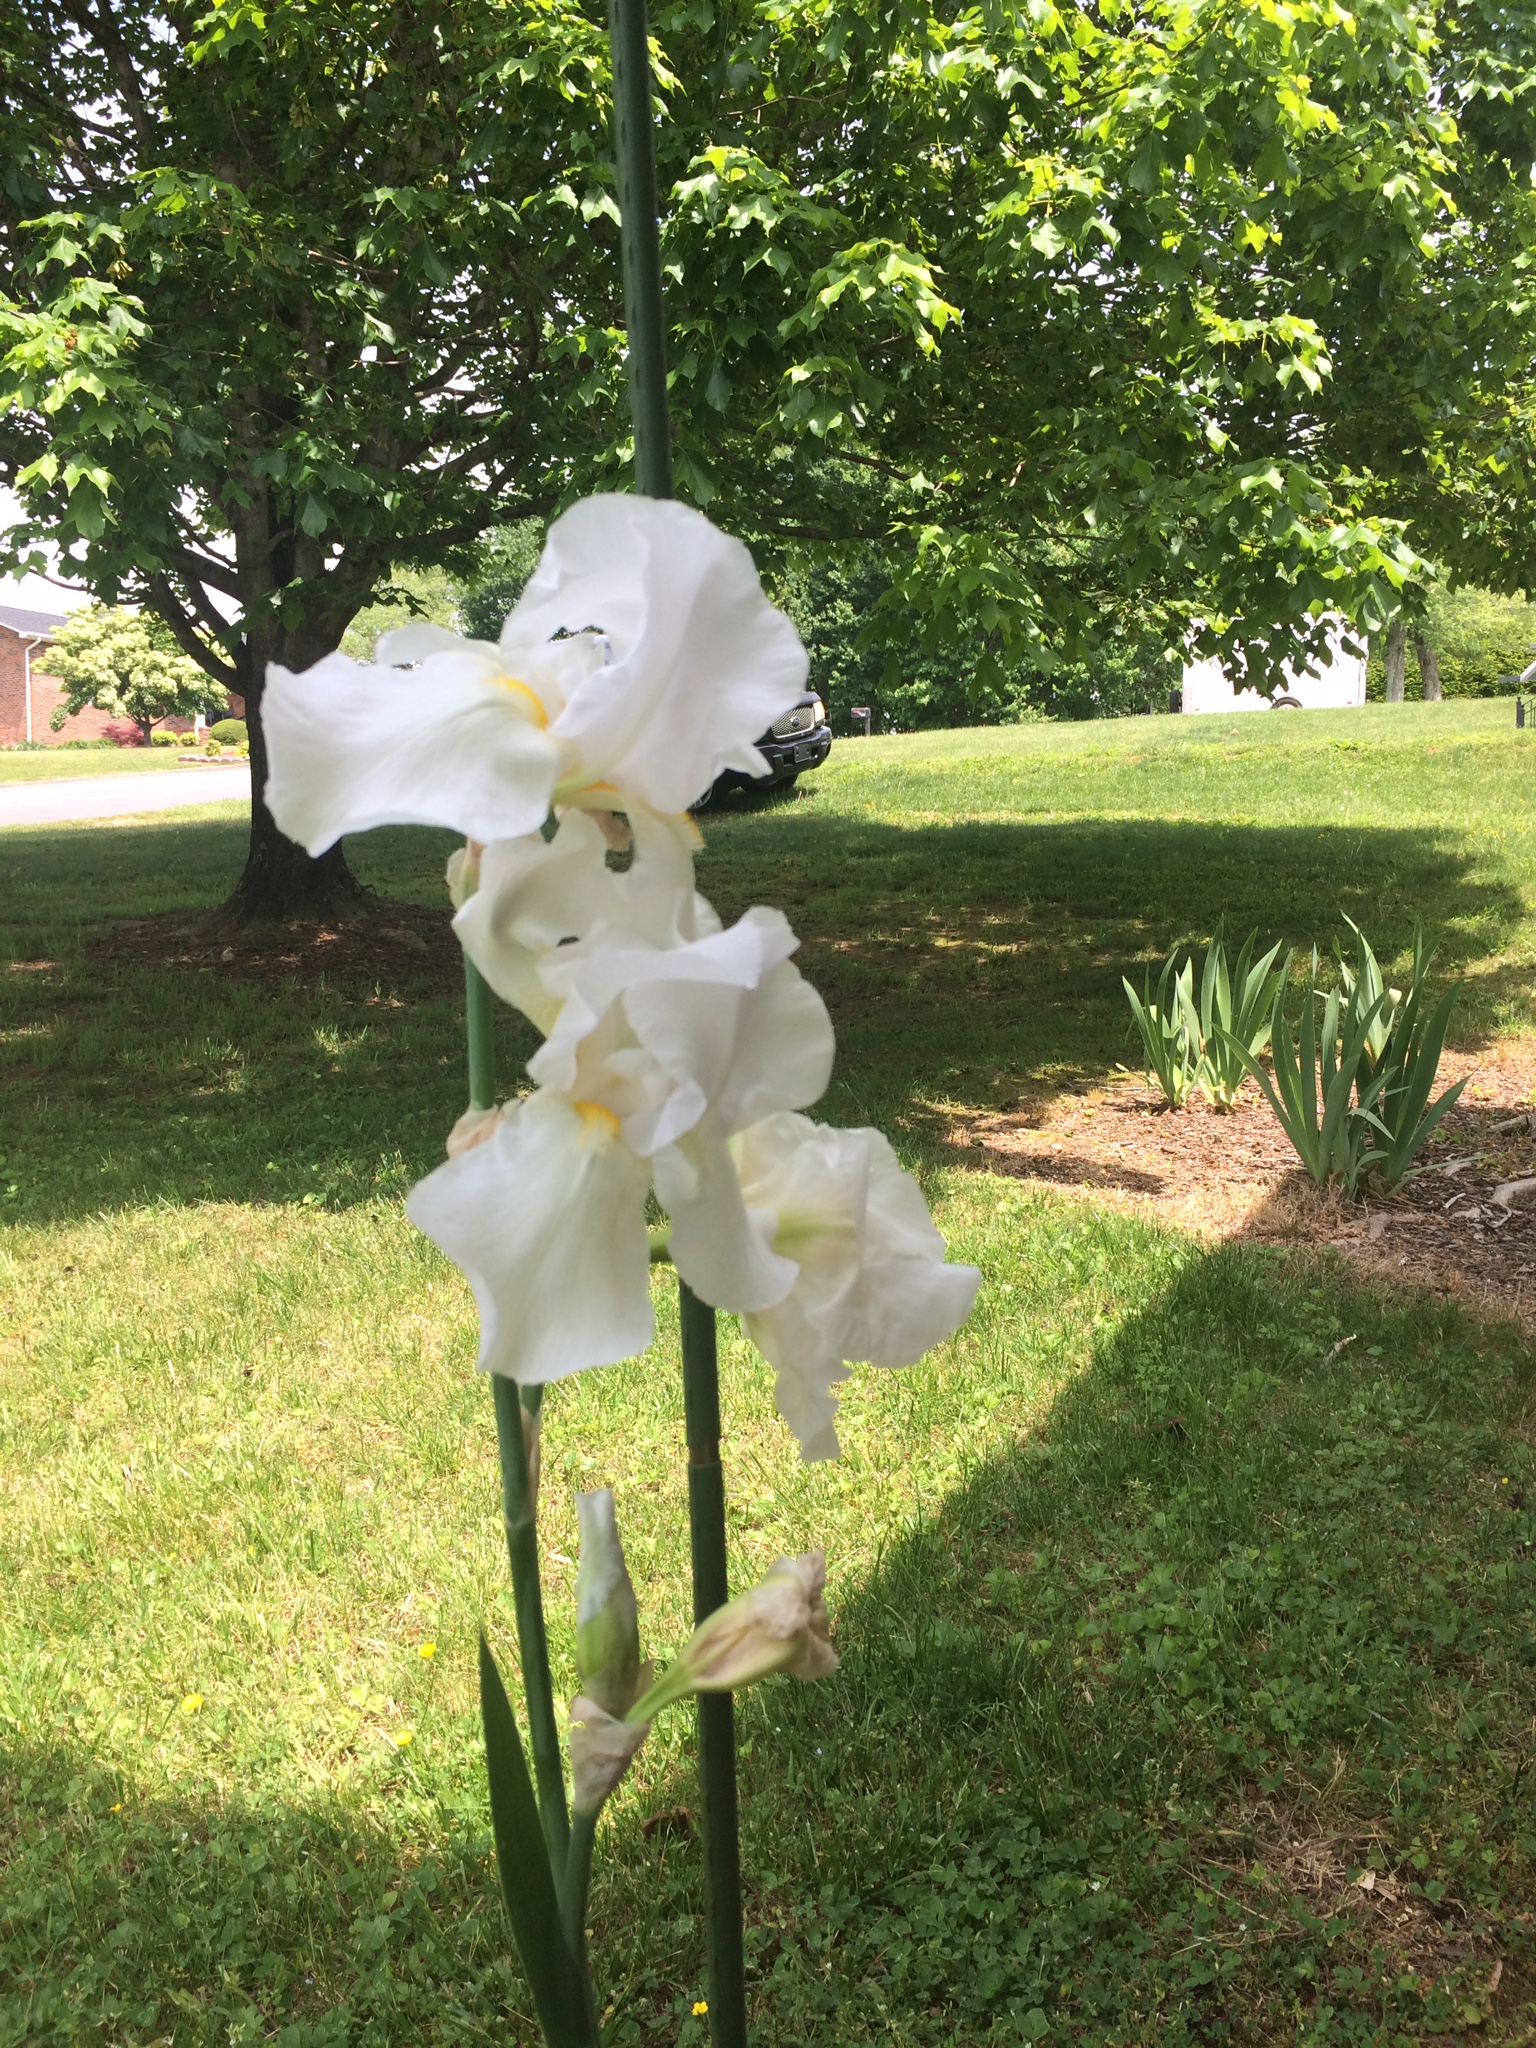
Tip 1 of the summer! Use a banana clip to help with flowers or other plants that become too heavy and start to fall towards the ground. Saved me so much time and $$.

New plants this year: Honeydrop Tomatoes, Pruden’s Purple, Cherokee Purple, Pineapple Tomatoes, Jelly Bean Tomatoes and Little Lois? (doing more research on this one)
Of course I have the usual green beans, peppers, cucumbers and early girl cantaloupe.
